Table of Contents
ToggleCoastal flooring sets the aesthetic foundation for homes inspired by sand, surf, and sea breezes. The right floor mimics the relaxed palette of driftwood and tidal flats while standing up to salt air, tracked-in sand, and humidity swings that landlocked houses never see. Whether renovating a beachfront bungalow or bringing shoreline style to an inland property, choosing flooring that balances visual warmth with moisture resistance makes the difference between a space that feels authentic and one that fights its environment. This guide walks through practical, durable options that deliver coastal character without sacrificing performance.
Key Takeaways
- Coastal flooring must balance aesthetic appeal with moisture resistance, handling salt air, sand abrasion, and humidity to maintain both style and performance.
- Whitewashed engineered wood and luxury vinyl plank (LVP) are top choices for coastal homes, offering durability and the light, airy look that defines beach-inspired interiors.
- Subfloor preparation is critical in coastal environments—test concrete for moisture, ensure plywood reads below 12% moisture content, and always install vapor barriers to prevent water damage.
- Natural stone and porcelain tile provide elegant, low-maintenance alternatives with realistic textures, though stone requires regular sealing every 12–18 months in high-moisture areas.
- Reclaimed wood delivers authentic coastal character but demands careful sourcing, proper finishing, and metal detection before sanding to avoid damage and ensure durability.
- Acclimate all flooring materials for 48 hours before installation and seal seams with silicone caulk to prevent water from reaching the subfloor in wet-prone zones like entryways and bathrooms.
Why Coastal Flooring Sets the Perfect Foundation for Beach-Inspired Homes
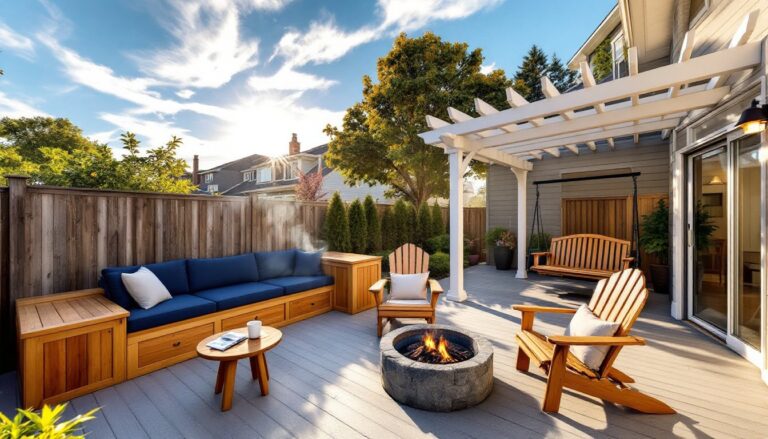
Coastal flooring does more than tie together paint colors and furniture, it anchors the entire mood of a space. Light, sun-bleached tones reflect natural light and make rooms feel larger, which matters in cottages with smaller footprints. Textures that evoke weathered boardwalks or smooth river stones add tactile depth without clutter.
But style alone won’t cut it near salt water. Coastal environments demand materials that handle high humidity, temperature fluctuations, and the occasional soaked beach towel draped on the floor. Floors in these settings take a beating from sand tracked indoors, which acts like fine-grit sandpaper on soft finishes. The best coastal flooring marries aesthetics with resilience, think sealed surfaces, moisture-stable cores, and finishes that hide minor scuffs instead of broadcasting every scratch.
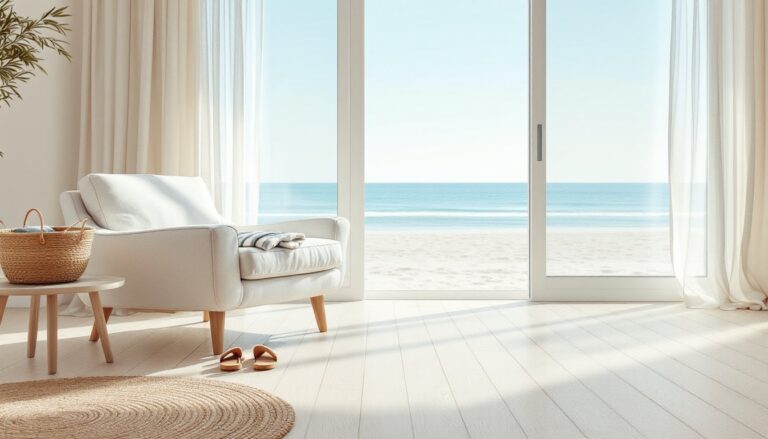
Many homeowners lean toward pale, neutral palettes, whitewashed oak, soft gray stone, or weathered pine, that mirror the muted hues of seashells and fog. These tones pair naturally with ocean blues, crisp whites, and natural fiber textiles, creating a cohesive look that doesn’t require a design degree to pull off.
Whitewashed and Light Wood Flooring for Airy Coastal Vibes
Whitewashed hardwood or engineered wood flooring captures the driftwood aesthetic that defines coastal interiors. White oak, maple, and ash take whitewash treatments well, producing a pale, slightly textured surface that softens harsh sunlight and complements linen upholstery.
Engineered wood, real hardwood veneer bonded to a plywood or HDF core, handles moisture swings better than solid hardwood. The cross-grain construction resists expansion and contraction, which matters in homes without climate control year-round. Look for products with a wear layer of at least 2 mm if refinishing down the road is a priority. Many manufacturers now offer factory-applied whitewash or light ceruse finishes, saving the DIYer the hassle of custom staining.
Installation typically uses a floating floor method with click-lock planks, which allows the floor to expand and contract without buckling. Leave a ½-inch expansion gap around the perimeter and at transitions, coastal humidity can push even engineered wood beyond its specs if it’s pinned tight.
Surface prep matters: subfloors must be flat within ⅛ inch over 10 feet, and moisture barriers are non-negotiable. Use a 6-mil polyethylene sheet or cork underlayment with a built-in vapor barrier, especially over concrete slabs common in coastal construction.
For a true DIY whitewash on unfinished wood, mix equal parts white latex paint and water, apply with a rag in the direction of the grain, and wipe excess before it dries. Seal with water-based polyurethane in a matte or satin sheen, gloss reads too formal for coastal style. Expect to sand lightly between coats (220-grit) and apply at least three topcoats for durability.
Durable Luxury Vinyl Plank: The Smart Choice for Coastal Living
Luxury vinyl plank (LVP) has become the workhorse of coastal flooring, and for good reason. It’s 100% waterproof, stands up to sand abrasion, and mimics wood or stone at a fraction of the cost. Modern LVP uses high-resolution imaging and embossed textures that replicate hand-scraped oak or tumbled travertine convincingly enough to fool most visitors.
Look for products with a wear layer of 12 mil or thicker for high-traffic areas like entryways and kitchens. The wear layer is a clear urethane coating that resists scratches and stains, thicker is better near exterior doors where sand gets tracked in daily. WPC (wood-plastic composite) and SPC (stone-plastic composite) cores add rigidity and dent resistance. SPC is denser and handles temperature extremes better, which helps in homes with large glass doors that bake floors in direct sun.
Installation is straightforward for confident DIYers. Most LVP uses click-lock edge profiles that snap together without glue. Start with a level subfloor, fill low spots with self-leveling compound and grind high spots. Roll out an underlayment with sound-dampening properties if installing over concrete: it cuts down on the hollow sound that cheaper vinyl can produce.
One caution: LVP can fade in prolonged direct sunlight. If large south-facing windows or sliding glass doors flood a room, consider window treatments or UV film to protect the floor. Some manufacturers now offer UV-resistant wear layers, but they command a premium.
LVP costs $2–$7 per square foot for quality products, not counting underlayment or prep work. Installation labor adds $1.50–$3 per square foot if hiring out, but most homeowners with basic tool skills can handle this as a weekend project.
Natural Stone and Tile Options That Capture Seaside Elegance
Natural stone, travertine, limestone, and slate, brings the cool, solid feel of coastal cliffs and tide pools indoors. Travertine’s pitted surface and warm beige tones suit Mediterranean-inspired coastal homes, while slate in gray or blue-gray hues echoes rocky shorelines. Both are durable and naturally slip-resistant when honed or tumbled, which matters in wet-prone areas.
Stone requires more maintenance than vinyl or engineered wood. Seal travertine and limestone every 12–18 months with a penetrating sealer to guard against water and oil stains. Slate is denser and less porous but still benefits from an initial seal after grouting. Grout lines are the weak point: use epoxy grout in wet areas like bathrooms and mudrooms, it resists moisture and mildew better than standard cement grout.
Porcelain tile offers a lower-maintenance alternative with the look of natural stone. Modern inkjet printing creates realistic vein patterns and color variation. Choose tiles rated for floor use (PEI rating of 4 or 5) to handle foot traffic without glazing wear. Large-format tiles (12×24 inches or bigger) reduce grout lines and give a cleaner, more contemporary look that pairs well with minimalist coastal interiors.
Installation demands precision. Tiles set in thin-set mortar over a flat, stable subfloor, cement backer board over wood framing or directly on concrete slabs. Rent a wet tile saw for clean cuts, and use tile spacers to keep grout lines consistent. Budget extra time for layout: dry-fit the entire floor before mixing mortar to avoid awkward cuts at doorways or around cabinetry.
Stone and tile stay cool underfoot, which feels great in summer but can be chilly in cooler months. Consider installing electric radiant heat mats under the tile for year-round comfort. Mats run about $10–$15 per square foot and add noticeable warmth without the complexity of hydronic systems.
Reclaimed and Weathered Wood for Authentic Beach House Character
Reclaimed wood delivers instant character that new lumber can’t match. Salvaged pine, cypress, and oak from old barns, warehouses, or demolished buildings carry nail holes, saw marks, and patina that tell a story. The weathered gray of aged cypress or the honey tones of reclaimed heart pine anchor a coastal interior with authenticity.
Sourcing matters. Reputable suppliers kiln-dry reclaimed lumber to kill insects and stabilize moisture content, then mill it to uniform thickness, typically ¾ inch nominal for solid plank flooring. Expect to pay $6–$12 per square foot for quality material, sometimes more for rare species or hand-selected grades.
Installation follows traditional hardwood methods: tongue-and-groove planks nailed or stapled to a plywood subfloor using a flooring nailer. Random-width planks (mixing 3-, 5-, and 7-inch widths) enhance the rustic, collected-over-time look. Stagger end joints by at least 6 inches to avoid visual seams running across the room.
Reclaimed wood often arrives unfinished or with only a rough clean-up. Sand with a drum sander or orbital floor sander starting at 60-grit and working up to 120-grit for a smooth surface. Finish with penetrating oil for a matte, natural look that ages gracefully, or apply water-based polyurethane for more protection in high-traffic zones. Oil finishes require reapplication every few years but are easy to spot-repair: polyurethane lasts longer but shows scratches more readily.
Caution: Reclaimed wood can contain hidden metal, nails, screws, brackets. Run a metal detector over each plank before cutting or sanding to avoid wrecking saw blades or sander belts. Pull any fasteners with pliers or a nail puller.
If the real thing is out of budget, several manufacturers offer distressed or wire-brushed flooring that mimics reclaimed character at lower cost. These products come pre-finished and install like standard engineered wood.
Choosing the Right Flooring for High-Moisture Coastal Environments
Moisture is the chief enemy of flooring in coastal homes. Salt air, frequent rain, and humidity that hovers above 60% relative humidity for months at a time will warp, cup, or delaminate the wrong materials.
Solid hardwood is risky in true coastal climates unless the home has year-round climate control. Even then, it’s best kept away from entry zones and bathrooms. Engineered wood with a waterproof core (sometimes marketed as “waterproof engineered hardwood”) tolerates occasional spills but isn’t rated for standing water.
LVP and porcelain tile are the safest bets for wet-prone areas, mudrooms, laundry rooms, and bathrooms. Both are fully waterproof when properly installed. Seal all seams and transitions with silicone caulk to prevent water from reaching the subfloor.
Subfloor prep is critical. Concrete slabs must be tested for moisture before installing any flooring. Use a calcium chloride test kit or relative humidity probe to check moisture levels. If readings exceed manufacturer specs (often around 3 lbs/1,000 sq ft/24 hours for calcium chloride tests), apply a moisture mitigation primer or install a vapor barrier before proceeding.
For wood-framed floors, check subfloor moisture content with a pin-type or pinless moisture meter. Plywood or OSB subfloors should read below 12% moisture content. If higher, increase ventilation in crawl spaces and address any plumbing leaks or drainage issues before flooring goes down.
Underlayment selection also affects moisture performance. Cork and foam underlayments with integrated vapor barriers work for most applications. In particularly damp settings, consider moisture-blocking underlayment films rated for high-humidity environments.
Don’t skip acclimation. Even waterproof materials like LVP should sit in the installation space for 48 hours to stabilize to room temperature, which prevents expansion gaps from closing or buckling during the first seasonal swing.
Conclusion
Coastal flooring succeeds when it marries the airy, sun-soaked aesthetic of beach living with materials tough enough to handle moisture, sand, and temperature swings. Whitewashed wood, waterproof LVP, natural stone, and reclaimed timber each bring distinct character and performance to the table. Match the material to the room’s exposure and traffic level, prep the subfloor carefully, and don’t cut corners on moisture barriers or acclimation. The result is a floor that looks as good as it performs, year after year, storm after storm.